How to Apply for a Passport in Delhi
July 2, 2022
On June 24, 2020, the Honorable Minister of External Affairs announced that chip-enabled e-passports are to be introduced. The security of an Indian travel document is expected to be greatly enhanced by it.
If you want to travel abroad, then you need to have a valid passport. In India, it is the CPV (Consular Passport & Visa) Division of the Ministry of External Affairs that is responsible for issuing a passport. There are 37 passport offices across the country and numerous embassies and consulates overseas to authorize the issuing of passports to the NRIs.
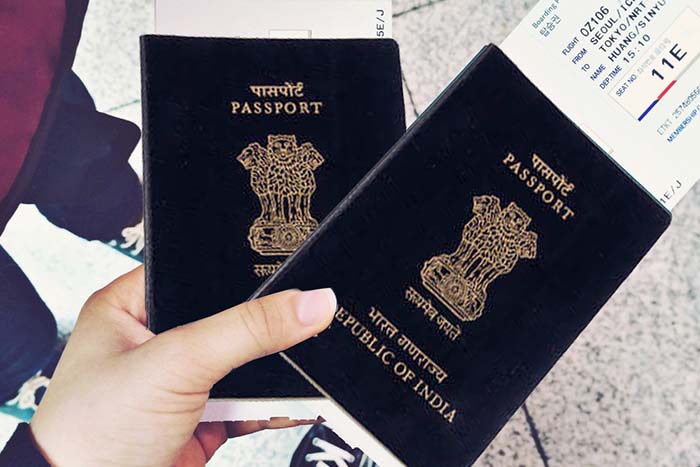
You can leave the country only with a passport. The Indian government issues this travel document under the Passport Act, 1967, while the Consular Passport & Visa (CPV) Division of the Ministry of External Affairs is responsible for issuing the Indian passport.
As of 2016, the Passport Office is spread across 37 locations in India and, outside of India, 162 Indian High Commissions, embassies and consulates are authorized to issue passports to Indian citizens residing abroad. With the introduction of online applications, and, in particular, the work of TCS, getting a passport is no longer the tough task it once was.
Earlier, the filling of a physical application and all associated documents would take twice as long. Online applications have also eliminated the need for agents, who would earlier attempt to capture all the appointment slots. Therefore, if you need to apply for a new passport today or even renew an older one, all you need to do is to follow a few simple steps to complete the process. The fees for applying for a passport varies on the number of required pages that you will need also considering the issue of passport. An ordinary passport which has the blue cover and consists of 36 or 60 pages has validity for 10 years from the date of issue. It can be renewed for another 10 years.
Passport Application Online
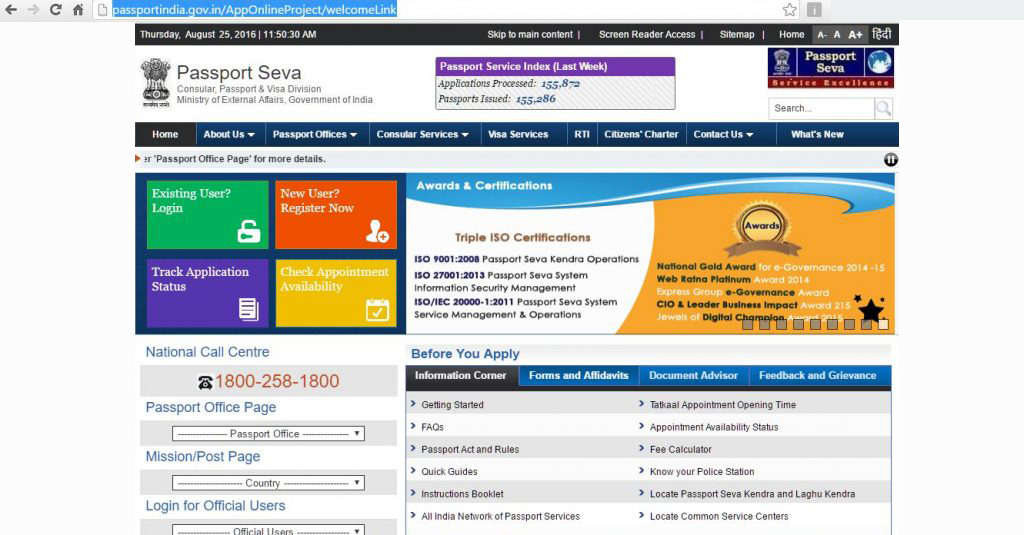
Visit the Website:
To begin with, visit the Passport Seva Website. If you are a new user, click ‘Register Now’ to login. If you have already registered, just type in your login credentials.
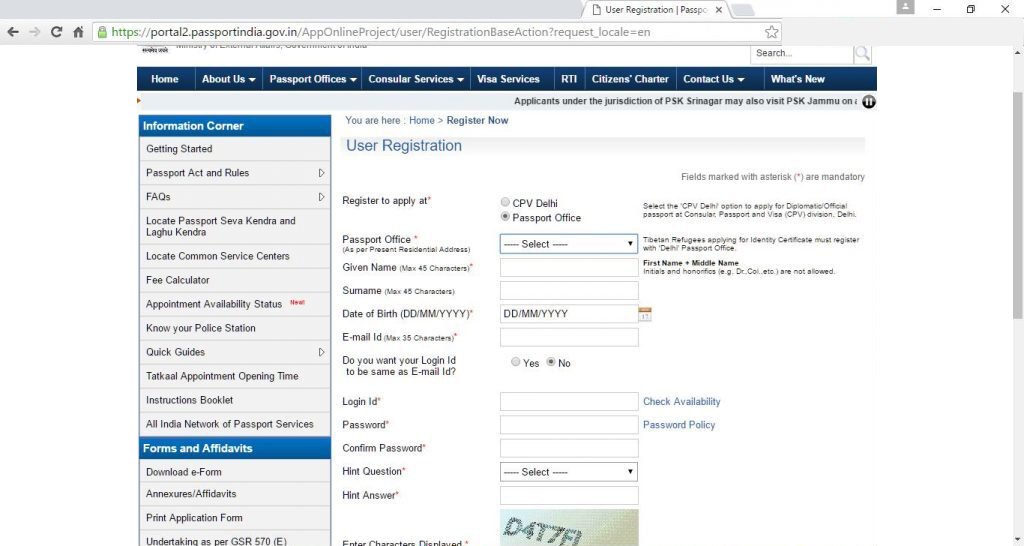
Create Account:
An account needs to be created to apply for the passport or even check the availability of appointment. The whole point of this endeavour is to create an account and get an appointment online, with the nearest passport office — or one of your choice.
Submit Details:
In the page below, enter your name and all details. Pick the passport office located closest to you, and proceed to enter all information on the form. Ensure that you enter the correct details for easy and smooth processing of your passport application.
Registration:
Once you have filled in all the details, check the details. It is really important that your details are accurate. If they are, click Register Now. Your account has been successfully created through the registration form submission. The next step is to login to the page with the ID and password you have selected while registering.
Begin Application:
Enter your registered email, chosen password and the characters in the image provided to log in. Once you log into the website, you can either pick Apply for Fresh Passport or Passport Renewal. There are two ways to fill up the form provided. You can directly key in the details in the form, or download the softcopy of the application form (by clicking on the button provided). Either way works fine; however, keying in the information saves you time and provides you with immediate feedback on your entry. Pick the alternative you feel comfortable with, though.
Tatkal or Regular:
You now need to inform the Passport Seva Kendra whether you are making an express application, under the Tatkal Scheme, or a regular application. You can also select the number of pages you want in the passport. If you are a frequent traveller, you might need a bulkier passport, with 60 pages on it for Visa stamping. Otherwise, you can opt for a 38-page passport. Fill in the form with appropriate selections and press ‘Next’ for completing the form.
Personal Information:
The next page will ask you for personal information. Take time to read the instructions given in the official booklet of information, before proceeding with the further filling up of application form. It is always advisable to check the details and read the booklet clearly before taking up the next step in filling up of application form.
Submit Application:
Submit the application after rechecking all information. Also, ensure you have entered the details as per your identity and address proof you are going to provide during the appointment to avoid any hassles at a later stage.
View Submitted:
Once you have submitted the application, return to the first webpage and click ‘View Submitted applications’. The link will take you to the application you have submitted earlier. Select the link ‘Pay and Schedule Appointment’ for getting an appointment at your nearest passport office. Pick Appointment:
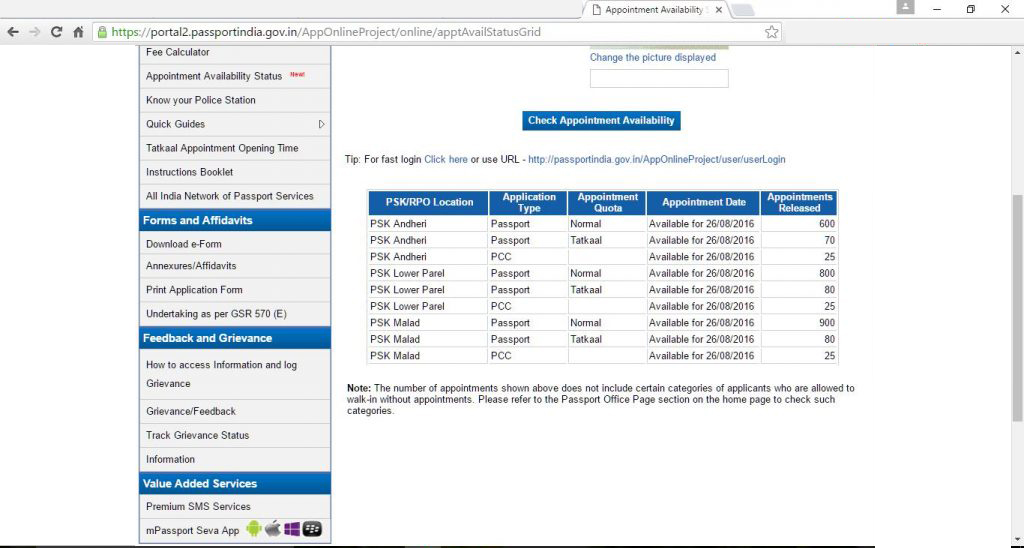
There are also options wherein you can check the availability of appointment at various passport offices in your city. For instance, if you are in Mumbai, click ‘Appointment Availability Status’ and pick the city of your choice. It will give a detailed appointment availability at that particular time.
Pick PSK:
Otherwise, you can just select ‘Online Payment options’ and click ‘Next’. A list of PSKs in your city and appointment availability will be displayed. You need to pick one of the options given, and select the option ‘Pay and Book Appointment’. Once you reach the payment gateway, finish paying for the appointment. The page will redirect you to the ‘Passport Seva website’.
Collect Receipt:
What you need to do at this stage is to print the receipt for the application and payment. This receipt is a very important document and needs to be carried for gaining permission to enter the PSK. You need the ‘hard copy’ of this application to enter PSK on the appointment date. Take a print out by selecting ‘Print Application Receipt’ option to get your copy of the receipt.
Your first stage of Passport Application process is now done. Now, for the next stage, you need to visit the PSK of your choice on the appointed date. Before going to the PSK, remember to carry all the required documents.
A list of all the documents for identity proof and address proof can be obtained from the instruction booklet.
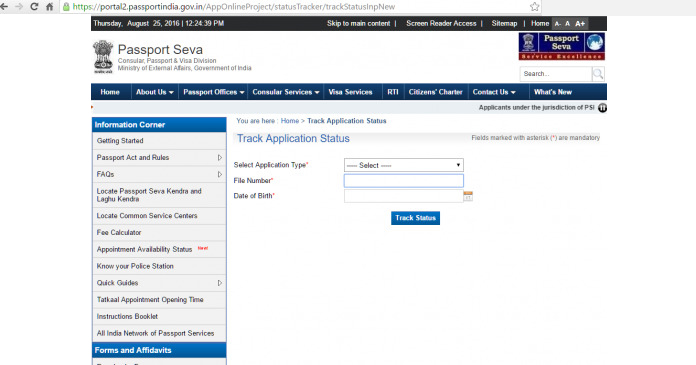
Once you complete your appointment at the PSK successfully, you can track the status of your application on the Passport Seva website. Enter the information required to know the status.
Prior to the introduction of the online system, the filling of application and other related documents took a much longer time. Moreover, it was expensive as it involved agents working for commission. Now, the online application procedure has minimized the time taken for the issuing of passports and expenses as it eliminates the middlemen. So, you would have understood the benefits of applying for a passport via online in India.